I've been working with my new 3d printer. My first major
design/construction project was a stand for charging vape batteries.
The basic idea is to be able to attach a charging cable to the
thing while keeping it vertical, so that one doesn't have to
disconnect the tank. The batteries in question have USB micro-B
sockets on the bottom.
Rather than have captive plugs built into the design, I thought I'd
have a cableway at the front of each socket, with a ledge inside the
socket to hold the battery above desk level: thus one can attach the
cable to the battery, then put the thing in the stand.
There are three different shapes of battery involved: iTaste, iStick
30W and iStick 40W (the latter two being sufficiently different in
shape that they don't fit each other's sockets). So the first thing to
do was to define the shapes of those sockets individually (in
OpenSCAD), print test pieces, and make
sure they worked:
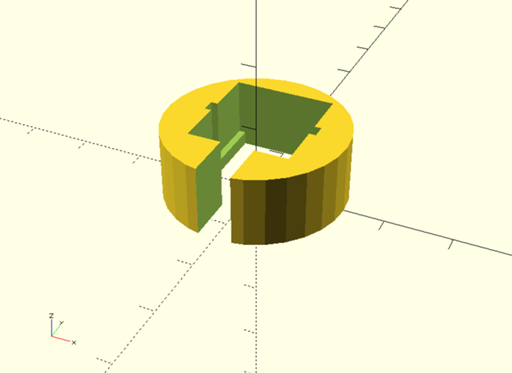
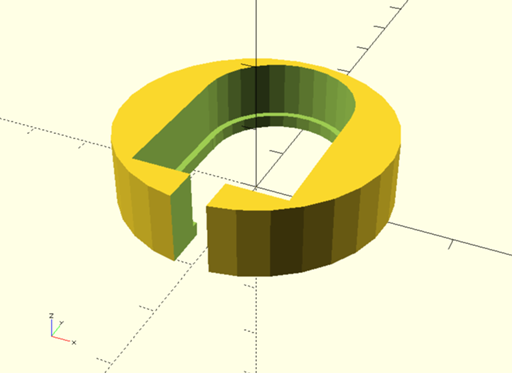
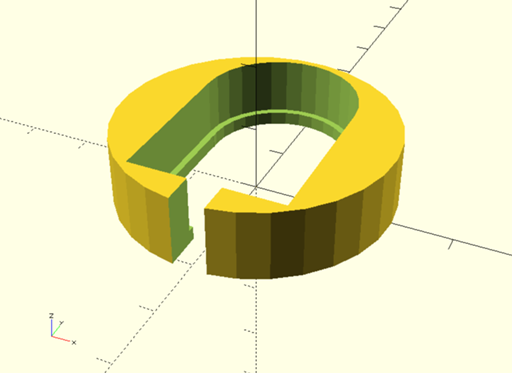
Once that was done, I integrated the code into an overall stand
design. This is fully tweakable: the same source file can be used to
produce different numbers of sockets in different configurations.
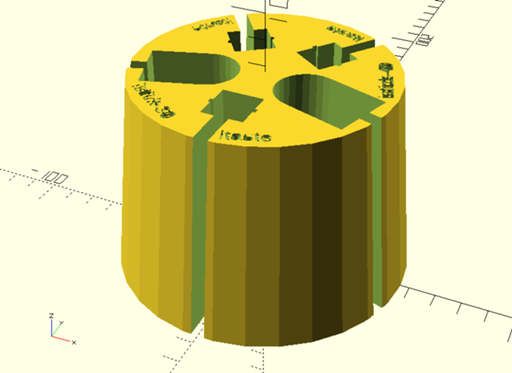
Then it was a matter of exporting to STL, and slicing with
Cura to produce
tooling instructions.
The build took about 34 hours. I wanted to know if things were
starting to go wrong, so I pointed a camera over the edge of the
printer and used fswebcam to
take a picture every minute.
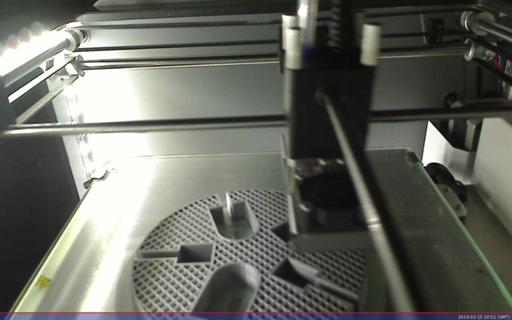
And because I can, here is a time-lapse video
of the later stages of the build. (Music, inevitably, by Kevin MacLeod
at incompetech.com.) Now I'm wondering how easy it would be to mount
the camera on the edge of the bed, to get the proper impression of the
object being built upwards… but there's not a huge amount of clearance
available.
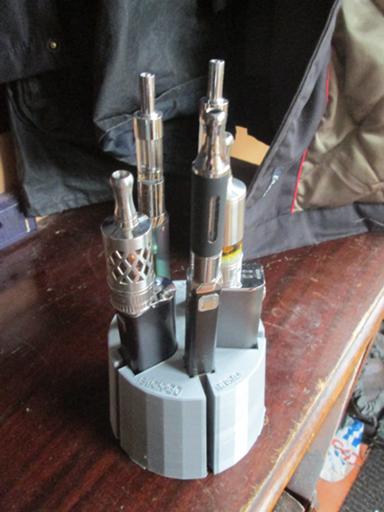
But: it works!
Comments on this post are now closed. If you have particular grounds for adding a late comment, comment on a more recent post quoting the URL of this one.